How to Build an Indoor Hydroponic Garden (DIY and Inexpensive!)

In 2020, I started gardening. But out here in the PNW, the outdoor gardening season is not very long. Once the rain starts coming in around October, it pretty much stays gloomy until about mid-July. And that means no more heat-loving vegetables and herbs.
In early 2021, I heard several podcasts in which Jack Spirko (sometimes NSFW) discussed hydroponics and how quickly and efficiently some hydro systems can grow leafy-greens and herbs inside your house during the winter months. I was motivated to give this a go because of irregular stocking of salad-greens at our local grocery store, but even more so at the idea of building a skill that could help my family and even the close community if shortages continued. So, borrowing heavily from Jack's playlist of instructional videos and purchase suggestions, I compiled the equipment and put it together. It was fairly inexpensive (especially considering the long-term skills and resiliency of the system itself), and it was really easy to put together! I didn't have any fancy equipment and only had to buy one tool attachment to put it all together.
I wanted to share how to do this with you for several reasons:
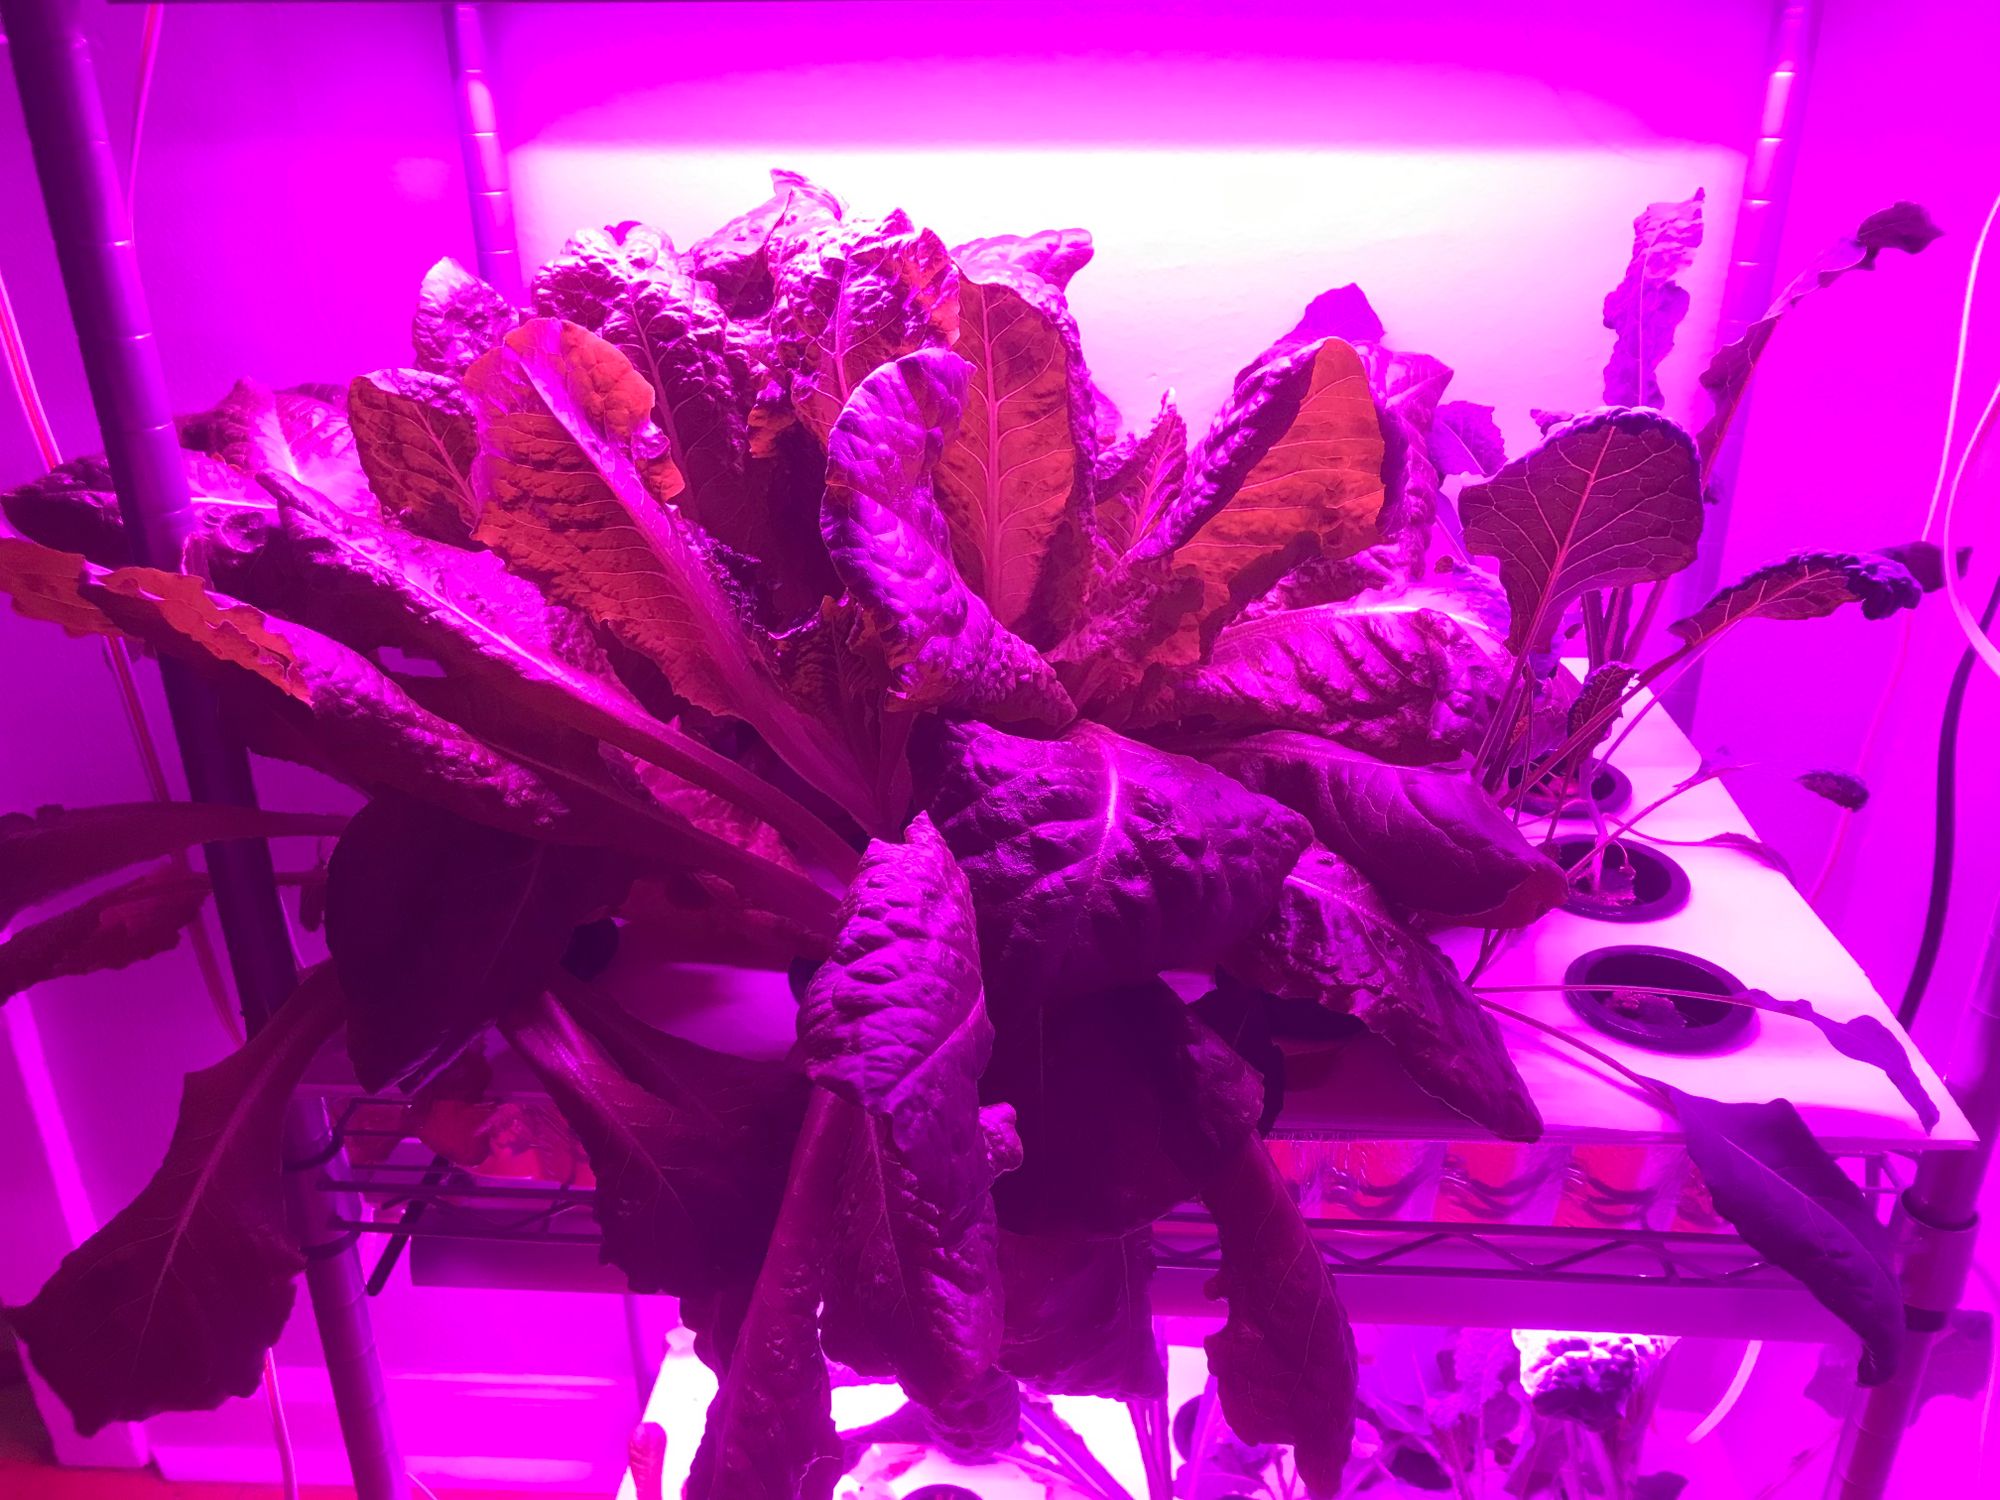
- The greens you'll grow from this system will taste one million times better than the ones you get from the store.
- You will know exactly how/when/where your food is coming from. The Farm-to-Table route can be literally inches.
- You can grow a ton of food really fast without taking up much space.
- You can (in the long term) save money on leafy-green produce, or you could even market more exotic plants yourself!
- If you use this system, there's very little maintenance/upkeep (compared to other hydroponic systems).
- Once you've learned how to set it up, it's modular so you can adjust/copy your system to make it as large or small as you want!
- You will have implemented a resilient food system, making you less dependent on centralized food systems.
Ready to learn how to do it? Here we go!
Step One: Buy the stuff
Here are the things you'll need to put everything together:
- An adjustable metal shelf . There are lots of different variations of this kind of shelf. I went with this one because it was in stock so I could get it delivered fairly quickly. (≈$60)
- Grow lights. These are essential, especially if you're growing somewhere where there's not much (or any) sunlight. These have worked beautifully for us, they are energy efficient, and they are easy to set up as a multi-light system to go as big or small as you want. (For ease of adjustments, I also use these reusable zip-ties.) (≈$60)
- Rapid Rooters Grow Plugs. These are the growth media that you'll use to start your seeds. Some people use rock wool, but I haven't had any experience with them because the Rapid Rooters have worked beautifully for us so far. ($20)
- Net cups. These hold the rapid rooters, allowing them to retrieve nutrient water, as well as allow the roots to access air as they mature. (≈$20)
- Corrugated plastic sheet to make the panels that seat the net cups (as well as a utility knife/tape measure to divide it into shelf-/reservoir-sized sections). You want these to sit on the rims of the nutrient reservoirs to enable the net cups to do their job. This also keeps light out of the reservoir and keeps algae growth down. I got this sheet from Home Depot. (≈$25)
- Roasting pan reservoirs to hold the nutrient solution. I got 9" x 13" x 3" lasagna-sized pans like these our local grocery store. (≈$15 for a set of 10)
- Hydroponic fertilizer. There's a lot of different options you can use. I went with the Masterblend solution because it's very shelf-stable, you can get a lot of it fairly cheaply (the 25 lb option is the best bang-for-buck), a little goes a looooong way, and it's fairly fool-proof to use (especially if you're just growing leafy-greens/herbs). (≈$60)
- A 5-gallon bucket and lid to hold your water-nutrient mix. I also got these from Home Depot. (≈$8)
- Timers for the lights. Plants (like people) function best if they get a consistent schedule of light. These timers have worked beautifully for us (and they are customizable up to 15-minute increments). We have a 16 hr on/8 hr off schedule that has worked great for our hydro garden. (≈$17 for 2)
- A power drill (most people have one already) and a 2-in. drill-bit for creating holes for the net-cups in the corrugated plastic sheet. (You could technically use a utility knife for this step.) (≈$8 for the drill bit)
- Seeds. Buy some seeds of plants that you'd like to grow! You can get these at your local big-box store or nursery. Or you can order them online if you're looking for something more unique. We've had great success from West Coast Seeds (from Canada) for our lettuces, and the big-box brands have worked well for our herbs.
Now you've got all the things! The cost (as of 1/12/22) for all of these parts is less than $300 (compared to some hydroponic systems that can run into the thousands of dollars with much less customization and more complicating factors like pumps, air stones, etc.). Now, you're ready to put it together! There are some optional additions to this set-up, but I'll discuss those later on.
Step Two: Assemble the system
1 - Assemble the shelf. With this particular shelf, I was looking for a lot of headroom for my plants so they wouldn't crowd the lights, so I only used 3 of the internal shelves instead of all 4. I assembled them equidistantly so that each set of plants had equal height for growth.

2 - Assemble the lights. I put two lights per shelf, and I arranged them equidistantly from the center for maximum coverage. This is a bit challenging to do by yourself, so I would recommend getting your version of Ms. GVaGH to give you a hand. Set up the electrical cords in whatever works best for your situation, and plug it into your timer and then into the wall.


3 - Set-up your timer schedule. We do the 16 hours on/8 hours off from 6:00 a.m. to 10:00 p.m.


4 - Arrange your roaster-pan reservoirs on the shelves so you can see how you want them set-up. We do two roaster pans per shelf, six roaster pans total.

5 - Measure the total length and width of your reservoirs on each shelf to prepare your corrugated plastic sheet for cutting. (Our cuttings were 15" deep by 21" wide to fit the roaster pans and shelf set-up). Cut three sections out of the plastic sheet, making sure it's slightly bigger than what you need. You can always cut more off, but you can't make the sheet grow back if you've cut too much off first.

6 - Fine tune your plastic sheet edges so they fit snugly over the reservoir pans and inside the shelf itself. Trim or adjust however you need to make sure your panels are snug. But don't let Perfect be the enemy of the Good! As you can see here, my panel is rubbing up against the shelf pole, and that's A-okay.

7 - Trace out your net cup/reservoir situation on your plastic sheet sections. This step requires the most delicate work. Decide how many plants you want per shelf. We have 8 plants per reservoir/16 plants per shelf. Then take your reservoirs, flip them upside down, and place them next to each other on top of your plastic sheet section. Trace around the edges with a pencil. This will help you visualize where to place the net cups. Next arrange your net-cups within the traced reservoir outline on the plastic sheet. When doing this step, make sure to give enough room away from the edge so that the net cups won't rub up against the side of the reservoir (which would not allow the plastic sheet to snugly close). Give them a trace with a pencil too so you know where to drill.


8 - Drill your net cup holes. This would work great if you have some sort of surface/sawhorses/etc. to work with. We didn't, so we ended up making stacks of books and putting the plastic sheets in-between and weighing them down with dumbbells. If you don't have those things, get creative (but be safe)! Place the drill in the middle of the tracings and drill through. Be careful! This was harder than it looks for us, so make sure you've got some good weights on the paneling. We ended up having whirling paneling flying out of our hands more than once. If you are using the same template for all of your shelves, just take a pencil and trace through the drilled holes on the next sections and repeat!

9 - Make sure your plastic sheets work. Put them on top of the reservoirs and then place your net cups within the newly-drilled holes. Hopefully, they should all fit perfectly with nothing rubbing against the reservoir sides!

Congratulations! The hard part is out of the way! Next week, we'll teach you the fun part: Mixing the nutrient, starting your seeds, and get to growing your own food!

*Notes:
There are some additions you can purchase to ramp things up to the next level if you're looking to do some seed-starting for your spring garden or to get germination from seeds that need warmer temperatures. Those things are:
1 - A seed-starting station and heat mat. This is a great option for plants that you want to grow that won't germinate on their own in your hydro garden (or need some more TLC). I put mine on the top of the shelf with a towel underneath. (≈$35)

2 - A small scale for exact to-the-gram measurements for fertilizer mixing. (≈$16)
3 - A pH meter. This can be especially useful for people who don't get water from municipal sources and may have hard water or other complicating factors. (≈$12)
4 - pH Up/Down. This will adjust your water's pH to your desired pH level for ideal growing. (≈$20)
4 - A TDS/EC meter. This can be used for exact measurements to make sure you have the right fertilizer-to-water ratios. (≈$14)